Consultation & Prep
Eyelashes need to be as clean as possible for lash lift treatments. Customers must wash their lashes immediately before the treatment, or the lash artist must do it herself. When lashes are dirty, it makes it more difficult for the lotions to penetrate, resulting in an uneven lift or some lashes not lifting at all.
If you prefer washing the customer’s lashes yourself, do so before you start the consultation, as mascara changes the appearance of lashes.
Step 1: Make sure to disinfect your hands or wear gloves
Gloves should also be disinfected after they are put on the hands as they are not sterile in the box.
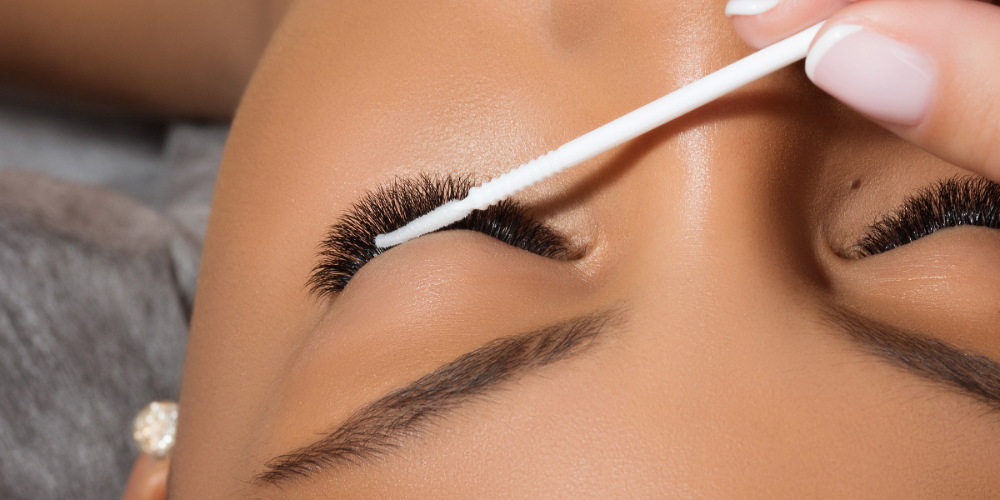
Step 2: Clean the customer’s lashes
We recommend cleaning lashes yourself to achieve the best result as you can see lashes much better and closer than customers do from the mirror:
Pump some cleaning foam onto the customer’s eyelid and not directly onto the lash line because it’s a more pleasant feeling for your customer. Next, use a cashmere brush or a lip wand to thoroughly clean lashes from the roots. Finally, remove most of the makeup residue with a damp cotton pad, and then ask your customer to tilt her head to the side to rinse off the residue.
NB! Always use saline to rinse before treatments as the salts in the saline start opening the cuticles gently. This will help lotions to penetrate the hair more manageably.

Step 3: Determine if your customer has regular or sagging eyelids
Take a look at the shape of the customer’s eyes and eyelids. If the customer has heavy, hanging eyelids, do not use size S or M silicone shields, as they give an intense curl that might trap lashes under the eyelid and cause discomfort + look unpleasant.

Step 4: Determine customer’s eyelashes’ growth direction
Have your customer look straight ahead and assess the growth direction of her eyelashes:
- If her lashes are growing more or less straight, you can choose any shield size.
- If her eyelashes are growing noticeably downward, then choose one of the round silicones to create a long-lasting effect:

The reason why rounder silicones create a longer-lasting result is that when these types of lashes grow out, after a few weeks, the base of the lash is no longer visible – only the middle and tip of lashes are noticeable when looking at them from the front:

If the lash line is uneven (most common is outer lashes more downward-growing than inner corner and middle lashes), mark the change point with eyeliner and consider using a round silicone for a longer-lasting effect.

The more downward the lashes grow, the more difficult they are to lift (they need longer processing with curling lotion). When a customer’s lashes have an uneven growth direction, the outcome is inconsistent, too, unless you do something to fix it with either Easy Lift or with different curling lotion processing times.
Step 5: Understand your customer’s expectations
To understand your customer’s lift expectations, ask her if she usually curls her lashes. If she does, then she is most probably expecting a solid lift. If she doesn’t, it’s a good idea to ask her if she wants her lashes to look as dramatic as possible or just more lifted and choose the silicone shield size accordingly. If she has had Lash Lift done before, ask her about the experience: what she likes and what could be done differently. Also, ask her if her eyes are sensitive and remember that for the tinting stage.
Step 6: Take photos of your work
Always take a “before” photo, even if you do not intend to use it on social media.
Step 7: Disinfect your hands again before proceeding with the treatment
Also, disinfect your phone if you use Timer App on it.
This work is licensed under a Creative Commons Attribution-NonCommercial 4.0 International License.